Introduction
Bone anatomy feels like memorizing 200+ random structures? That’s because you’re doing it wrong.
Most students:
- read passively
- Try to memorize everything at once
- forget it in 2 days
This guide will show you exactly how to:
- learn bone anatomy fast
- remember it long-term
- apply it in exams
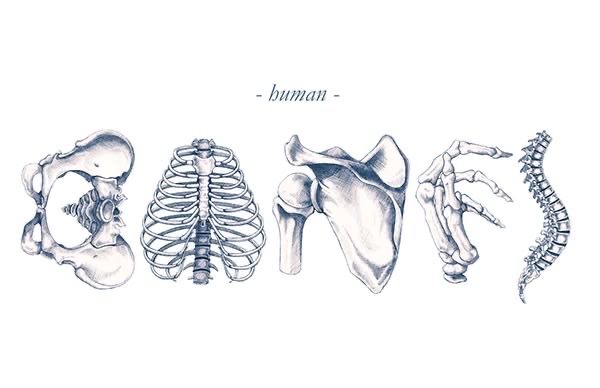
Why Bone Anatomy Is Hard
Bone anatomy overload happens because:
- Too many names (skull bones alone = chaos)
- No structure in learning
- Zero active recall
The Bone Anatomy Learning System
Use this for every topic:
Observe → Understand → Recall → Test → Repeat
Think of it like training a model:
- Input = diagrams + reading
- Output = recall
- Feedback = testing
No feedback = no learning.
Step-by-Step Plan to Learn Bone Anatomy
Step 1: Break the Skeleton Into Chunks
Don’t try to learn everything at once.
Divide into:
- Skull
- Vertebral column
- Thorax
- Upper limb
- Lower limb
Step 2: Learn Visually First
Use:
- labeled diagrams
- 3D anatomy apps
- atlases
Step 3: Understand Before Memorising
Instead of:
- “Femur = longest bone”
Learn:
- location
- function
- connections
Step 4: Active Recall
Close your book and:
- draw bones from memory
- label diagrams
- list structures
Step 5: Spaced Repetition
Meaning:
- You forget over time
- Reviewing at intervals strengthens memory
Step 6: Test Yourself Daily
- MCQs
- diagram labeling
- viva-style questions
Best Techniques to Memorise Bone Anatomy
1. Mnemonics (Use Smart Ones)
Don’t make mnemonics just for the sake of learning; try making relatable ones for better retention. Don’t overuse mnemonics either. Always remember to make mnemonics only for the topics that have too much to learn, or a topic that has certain groups or sequences that can easily be turned into mnemonics.
2. Association Method
Link bones to:
- shapes
- functions
- real-life objects
3. Repetition With Variation
Don’t just reread:
- write
- draw
- speak
Bone Anatomy Study Plan
- Day 1–2:
- Skull + diagrams
- Day 3:
- Vertebral column
- Day 4:
- Thorax
- Day 5:
- Upper limb
- Day 6:
- Lower limb
- Day 7:
- Full revision + test
How to Study Bone Anatomy for Exams
Let’s optimise for marks:
Strategy:
- Focus on high-yield bones
- Practice diagram labeling
- Revise weak areas only
- Do MCQs daily
Common Mistakes
- Reading without recall
- Ignoring diagrams
- Trying to memorise everything at once
- Not testing yourself
Advanced Trick
Build a Memory Pipeline
- Input = study
- Visualize = diagrams
- Recall = active memory
- Test = MCQs
- Reinforce = revision
Conclusion
I hope the article was helpful, and by now you must have learnt how to study bone anatomy with efficiency! It is not as hard as you think. Try sticking to a study method.
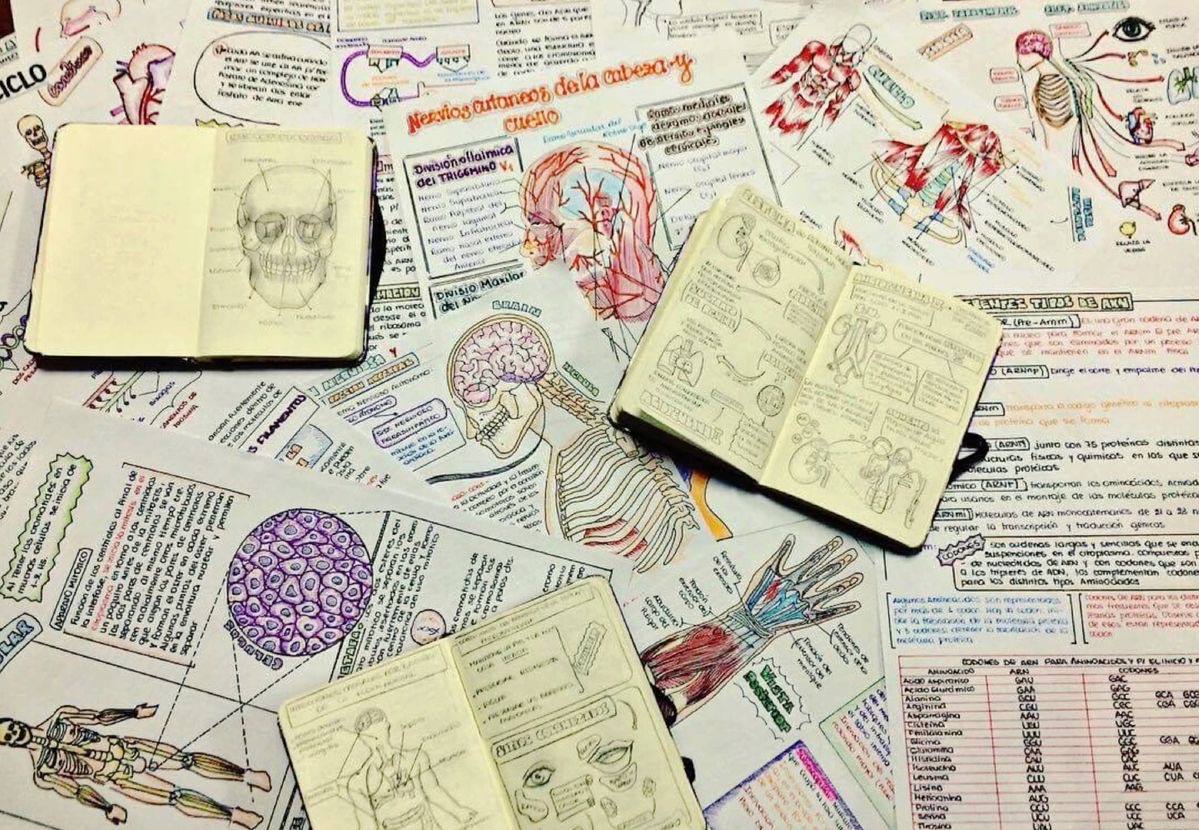
Personally, the best advice you need as a newbie trying to learn bones: Draw. You don’t have to be perfect. Roughly draw a bone, circle or darken the areas that have the muscle attachments and try to recall as much as possible!
Before you go, here are some common FAQs related to anatomy:
- How do I study anatomy without forgetting everything? {try active recall and spaced repetition}
- What is the best way to memorise anatomy quickly? {by learning it visually}
- How many hours should I study anatomy daily? {no specific hours, study until you don’t oversaturate yourself}
- Where should I learn anatomy from, books or videos? {I prefer the book along with the video}
- Why is anatomy so hard to learn? {It is not, stop saying that, manifest better}
- How do I learn anatomy if I’m a slow learner? {Try to break down the bigger topics, and again break down the subheadings, study a few every day through active recall}
- What are the best resources to study anatomy? {I haven’t used any, just the 2 textbooks and the telegram notes}
- How do I study anatomical terms and names? {you have to keep revising}
- How to revise anatomy before exams effectively? {study on the models, try recalling everything and do not try cramming last minute}
- Should I focus on understanding or memorisation in anatomy? {understanding, duh}
- How do I study anatomy diagrams and labelling? {Go through the diagrams with a YouTube video first, then do it on your own}